BOUNCING BALL LAB
LAB INTRODUCTION:
This lab is intended to give everyone some hands-on experience with basic animation before we delve further into the principles of character animation. Please make sure to download Photoshop CS6 or CC from Berkeley’s software website if you don’t already own a version of PS. For some of you, this may be the first time you’ve worked with Adobe Photoshop, let alone animated with this program. If you have never had any experience with Photoshop, we recommend you skim the Introduction to Photoshop guide because an understanding of the interface and Layers will become important.
Keyboard shortcuts and Photoshop tricks that are useful/not evident from the guide’s gifs are in blue.
Traditional Artists: This lab is designed so that it can be completed without a tablet nor prior knowledge of digital art. Even if you are mainly a traditional artist, we would like you to at least try out the digital interface. But don’t worry, once we get to walk cycles and character animation, you will have the option of animating on paper and just compiling on a video editor because the principles of animation are the same regardless of traditional or digital
Here is an example of what your final product should be at the end of this lab:

SETTING UP YOUR WORKSPACE:
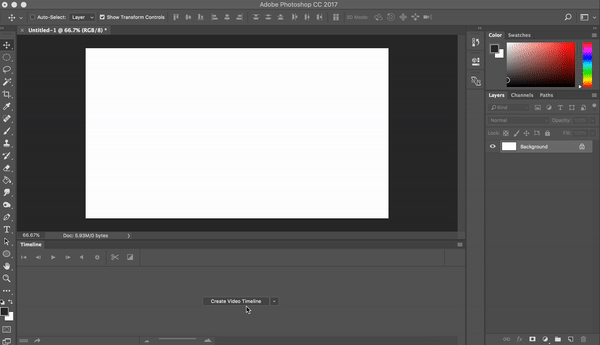
Open up a new file on Photoshop by clicking on New or Ctrl+N. Let’s make our animation at the industry standard of 16:9 resolution, or 1920x1080 pixels. Name the file however you want.

To get started, make sure that you have Windows>Layers and Windows>Tools checked. Then you'll want to open up the Video Timeline by going to Windows > Timeline. From here, a bar should pop up at the bottom of your Photoshop window, which looks like this:

You'll notice that there's a little arrow next to the "Create Video Timeline," and if you click on it, you can see that you have two options: "Create Video Timeline" and "Create Frame Animation." We want to click on the "Create Video Timeline" option: it’s not the cleanest animation interface, but it gives you more control than Frame Animation and works similarly to video editors you’ve already used. After hitting create, go to the icon that looks like 4 horizontal bars in the top right corner of the Video Timeline.
I'm going to Set Timeline Frame Rate to 12 frames per second then go to Panel Options and change the timeline units to frame number. Use the little scale at the bottom to zoom in or out of your timeline.
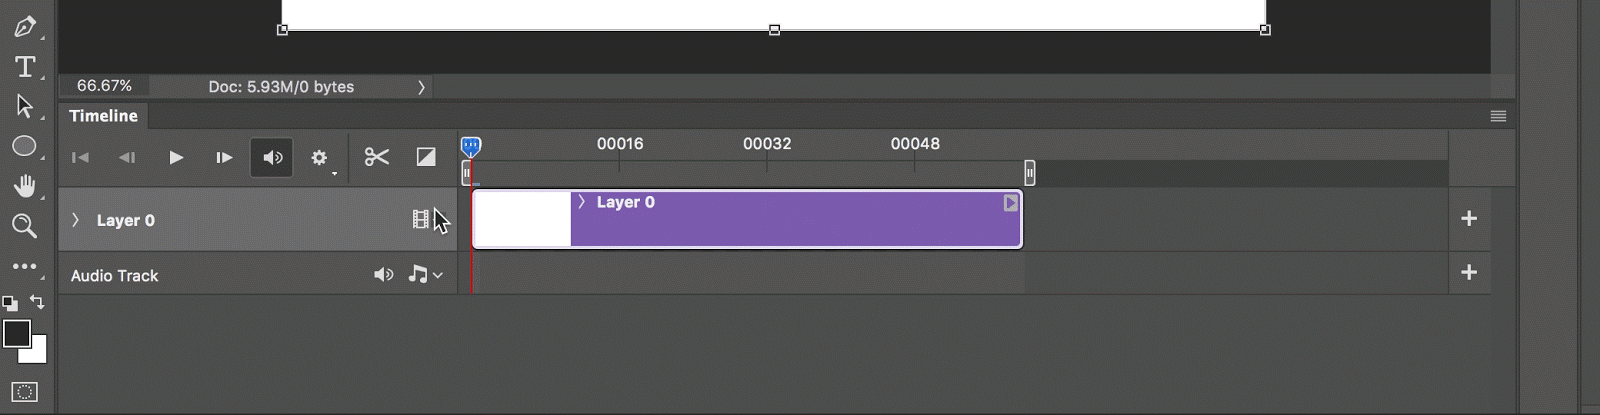
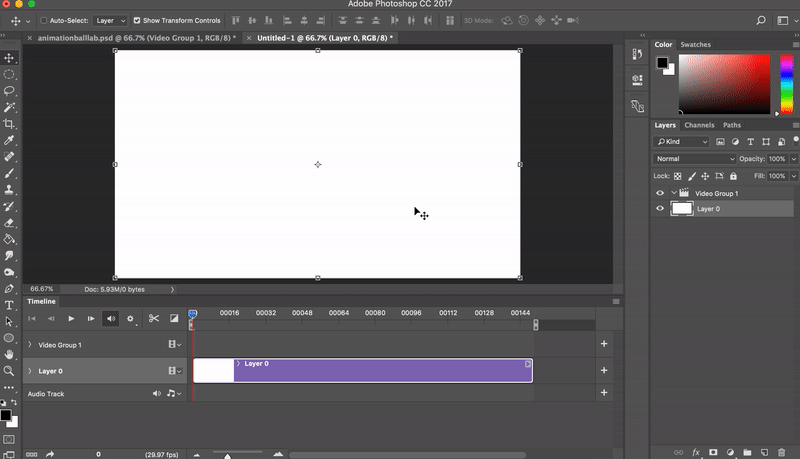
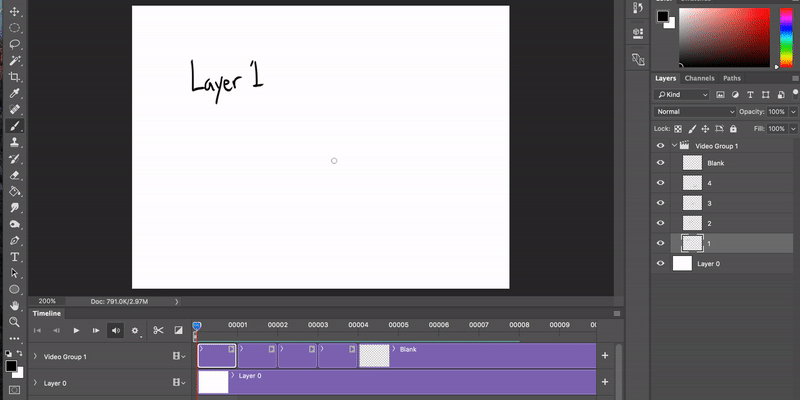
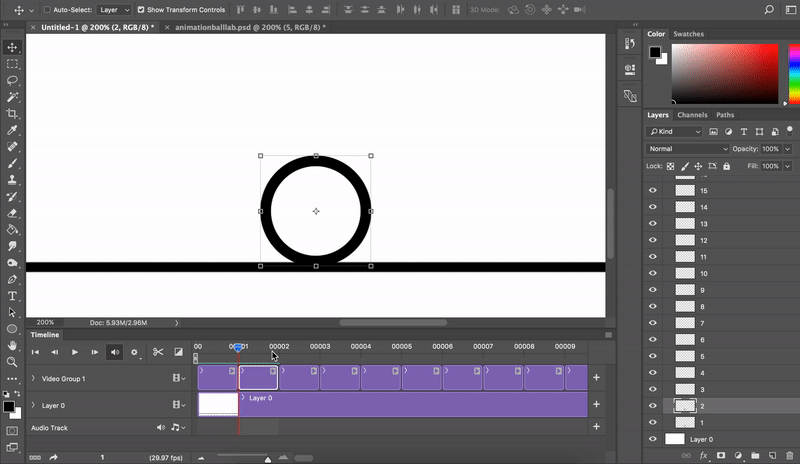
Let’s use Photoshop’s concept of Layers to create the frames we’re going to be animating with; 24 frames--aka 2 seconds at 12fps--seems reasonable for a ball bounce. Leave one white layer as the background (in my case, “Layer 0”) but do NOT draw your ball on this layer!!! Instead, click the film icon in the video timeline and hit New Video Group, which will create a blank timeline above your white background layer. Video groups are essentially timelines that allow you to drag and drop in multiple frames and adjust their order/duration, much like the timeline you use in Premiere Pro!
Notice that a new icon has appeared in your Layers window on the right called “Video Group 1”. Despite the new clapboard icon, this group behaves just like a folder that can open or hide its contents, although it is currently empty.

Create 2 new layers by hitting this icon at the bottom of your Layers window:
Now shrink the new layers down in the Timeline window so they only last 1 frame each, just like how you would use the Ripple Edit tool in Premiere Pro.
If you had Video Group 1 selected, your new layers should’ve shown up as consecutive blocks in the Video Group 1 timeline. If not, simply drag the layers into the video group like so:
One important concept you may notice in the .gif above is how the Layers window and the Timeline window are interconnected; rearranging and selecting layers in the layers window will change the corresponding frames in your timeline, and visa versa!
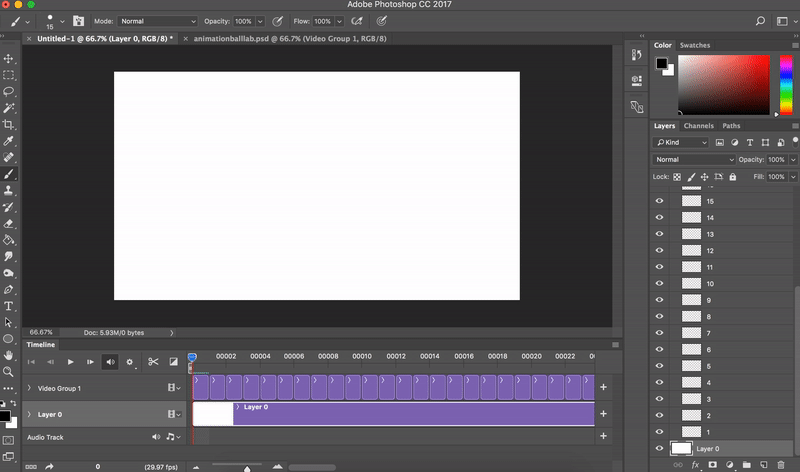
Unfortunately, one other concept you might notice is that Photoshop is Dumb and will make every new layer last much longer than 1 frame….and having to manually shrink them all down to 1 frame in duration would be a massive pain. Instead, here’s a shortcut: select the two frames you’ve already made in either the Timeline or Layers windows (click one layer, then hold shift and click the other) then hit Ctrl +J to duplicate. The duplicated frames should all be 1 frame-long in duration! Bring the total up to 24 frames.

NAME YOUR FRAMES 1 to 24 TO PREVENT MAJOR HEADACHES IN THE FUTURE. You can rename layers by double clicking their names in the Layers window
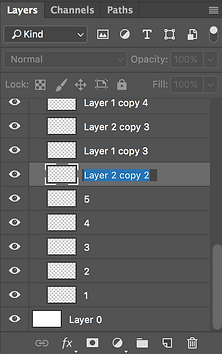
Check your Layers window; all the new layers should be under the “Video Group 1” folder. Dragging layers out of this folder creates a separate layer in the Timeline window; let’s just keep frames 1-24 under Video Group 1 for now, but this is useful knowledge for later on.
Our final step is the turn on Onion Skinning. Onion skinning mimics the practice of animating on tracing paper or using a light box by showing a low opacity ghost of the frames before or after the one you’re currently drawing on. Click on the 4 horizontal bars you used to adjust frame rate earlier in the lab, click on Onion Skin Settings, and set it to display 2 frames before. You may change these settings depending on you personal preferences while animating

Remember that these are just the settings, you have to go back to the 4 horizontal bars and toggle Enable Onion Skins to see it in action. While you’re animating, keep in mind that you can only fully see frames that are being displayed with the Video Timeline’s slider, and you can only edit/draw on frames that are selected AND with the timeline slider on it. Here is an example of Onion Skinning and the slider in action:
CREATING THE BALL:
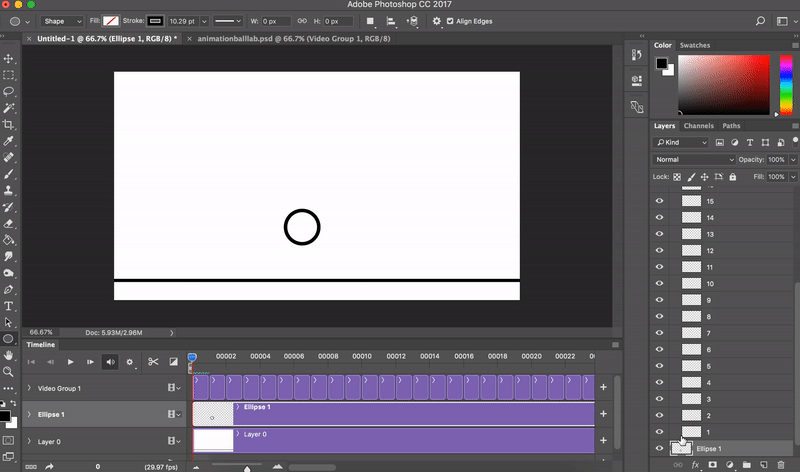
Select your original white background layer, select your Brush tool by hitting ‘B’ on your keyboard, and draw a flat line to represent the ground. Hold shift while dragging the brush tool to draw a straight line. Make the "ground" relatively close tothe bottom of the canvas so you have enough room for the bounce!
To create your ball, click the on the ellipse tool on your left-hand toolbar , create a perfect circle while holding shift and clicking+dragging the ellipse tool, adjust the thickness of the line to something reasonable (probably 3-4pt), and rasterize the ellipse by holding right-click on the on the ellipsis layer in the Layers window.

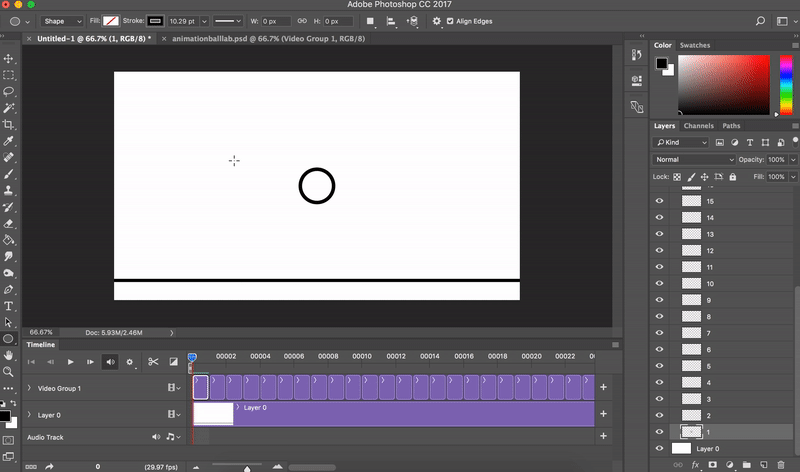
Select the whole ellipsis layer with Cntrl+A, hit Ctrl+C (Copy), select the layer for frame 1, hit Ctrl+V (Paste), then delete the original ellipses layer.
Re-position the circle on frame 1 to sit on your “ground” with the Move tool:
This is the same tool you’ll use to manipulate the circle as you animate.
In addition, make sure View>Snap is checked so that your object will automatically “snap” to useful positions like the center of the canvas. The transient red/purple lines indicate if and to what your object is aligning itself to.
Repeat a similar process by hitting Ctrl+A (Select all), Ctrl+C (Copy), clicking frame 2, then hitting Ctrl+Shift+V (Paste in Place)
NOTE: Ctrl+Shift+V will paste your copied object in the same location as the original object (as opposed to centering it in the middle of the canvas), which saves time re-positioning the ball and may be very useful when you animate more complex, multi-piece objects in the future
Get used to Select All layer→ Copy→ Click next layer→ Paste/Paste-in-place→ Use Move tool because you will be doing this for pretty much every frame from here on.
Remember Photoshop will only display the current frame that the Timeline window slider is on. Drag the slider to look at frame 2 (Although since you pasted-in-place, then frame 2 will be identical to frame 1 and you won’t see a change). Always keep in mind that you CANNOT EDIT/DRAW ON/COPY a frame unless the layer is selected AND YOU MOVE YOUR TIMELINE SLIDER ON IT.
ANIMATING THE ANTICIPATION AND BOUNCE:
Finally! Actual!! Animation principles!!!
Instead of having our ball suddenly fly upwards, let’s have it squish down before bouncing up. The ball needs to build up energy to bounce, similar to how you need to bend your legs to jump.
Gradually squish down the ball from frame 2 to frame 5 using a pattern of copy-pasting and deforming with the Move tool. Every time you deform the circle’s shape with the Move tool, you have to hit Enter to apply the changes.
Remember to give the illusion of CONSERVED MASS. Think of our ball as a solid object; deform the ball so that it gets wider as it squishes down or narrower as it stretches up. We also recommend continuously Copying→ Pasting→ deforming the ball from frame 1 (as opposed to copying frame 2 and pasting to 3 etc.) to prevent your ball from drifting off-model and ending up a different size by the end of the animation.
Here’s me working on frame 2 and frame 3:
Each increment should squish less than the previous--think about squishing a rubber ball in real life; it gets harder and harder to press down the more pressure you’re already applying. Notice how the ball deforms more between frame 1 and frame 2 compared to between frame 2 and frame 3:

Here’s me scrubbing through what I have after finishing frames 4 and 5 as well. For this lab, the ball should be at its maximum squished form at frame 5.

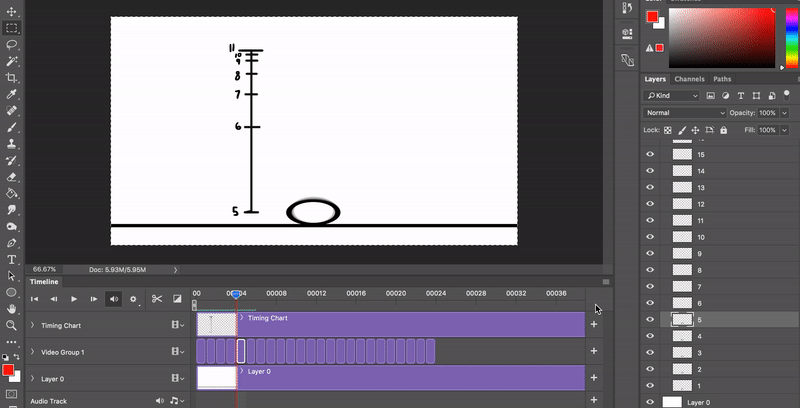
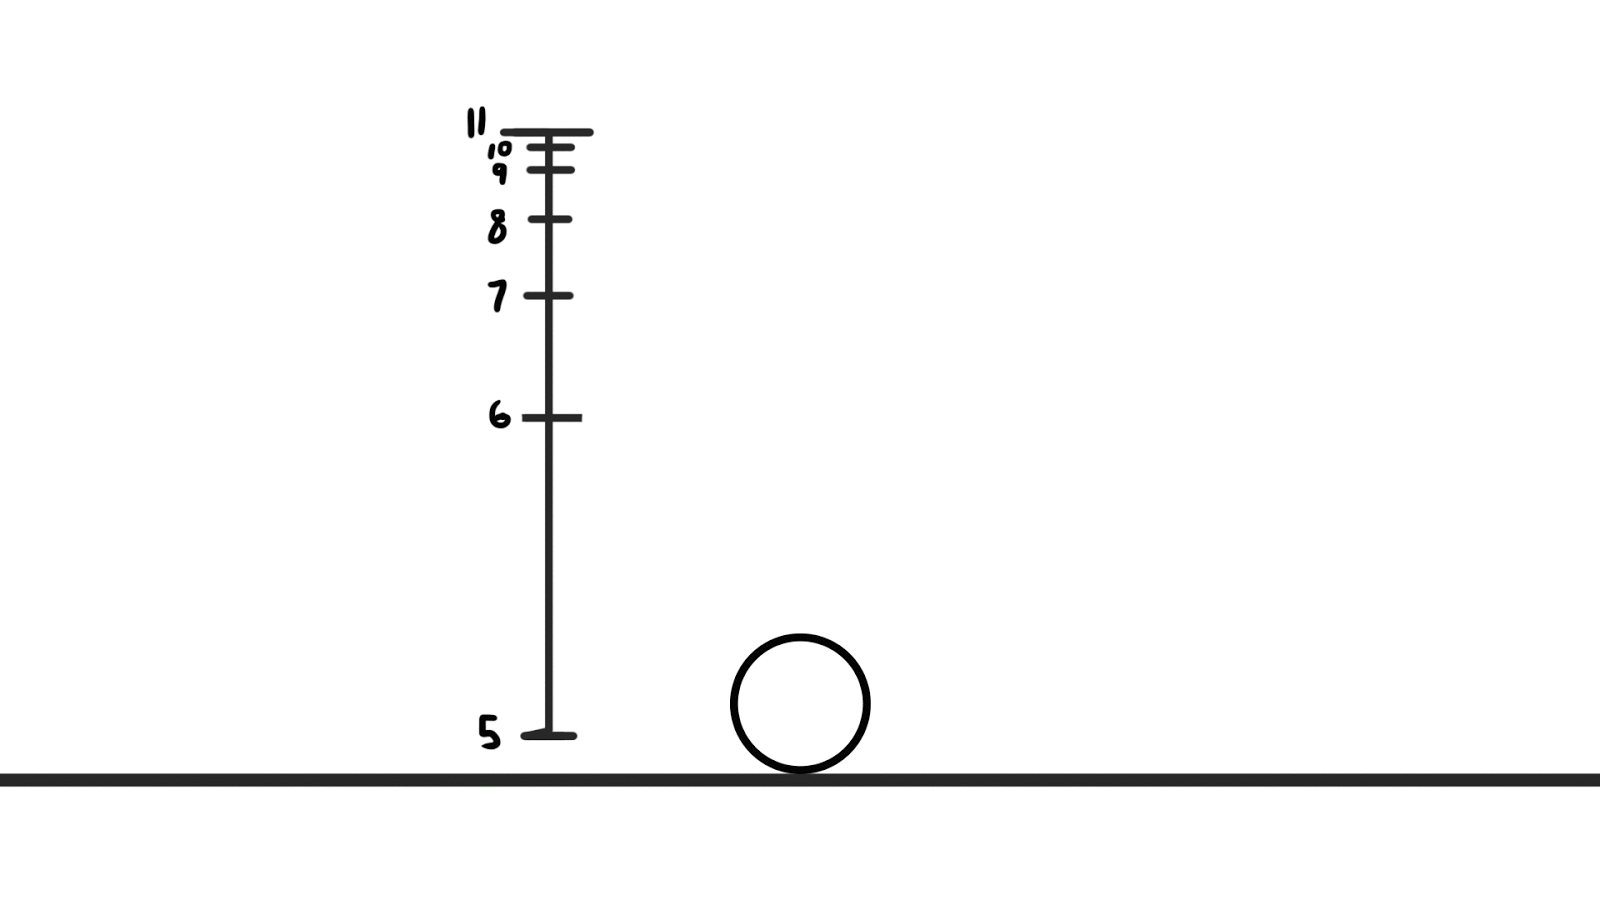
Now, let’s create a timing chart for the actual bouncing-up part of the animation. Create a new layer, name it “Timing Chart”, and make sure it’s OUTSIDE of Video Group 1 in the Layers window so that it sits in it’s own timeline layer like so:

This way, whatever you draw on this layer will be visible throughout the entire animation just like your background layer. As for the actual timing chart, there should be lots of movement in the beginning as the ball releases all its energy to bounce up, but then the spacing of the ball between each frame decreases as it slows to a stop at the peak of its bounce. One way to set up your "slowing down" in the chart is to keep cutting the chart in half; in other words, 6 is (roughly eyeballed) halfway between 5 and 11, 7 is about halfway between 6 and 11, 8 about halfway between 7 and 11, etc...
If you are confused about timing charts and how they work, refer to the lecture slides or ask the facilitators! In the example below, I’ve numbered the timing chart with the frame numbers as well.

Copy→ Paste→ Move the ball for frames 6-11, using your timing chart as a guide to how far the ball should move between each frame. I essentially lined up the center of my ball with each of the tick marks on my timing chart. Press shift while moving the ball with the Move tool to translate straight up/down or straight left/right. If you feel like your ball is drifting off course, remember that having View>Snap turned on will make it easier for the ball to center itself on the canvas
Don’t forget the Squash and Stretch principles: Stretch the ball when it’s moving at its fastest, squash the ball back into a neutral circle when you reach the top of the bounce.
Onion skin representation of frames 5-11:

At this point, I decided to add frame 12, which is nearly identical to frame 11 but with the ball shifted a couple pixels up. The difference is so miniscule that I didn’t actually notate frame 12 on my timing chart. In fact, don’t feel like you have to follow your initial timing chart to a T. Turn off onion skinning by clicking on the Enable Onion Skin option again, and then play your animation by pressing the space bar or the play button in top left of the Timeline window. Adjust the positioning and deformations of the ball so that it looks natural; here’s an example of what I have at this point:
[I actually decided I wanted to have the lines of my ball be thinner, and re-did my frames with a new ball, but that was entirely personal preference]
ANIMATING THE FALL AND LANDING
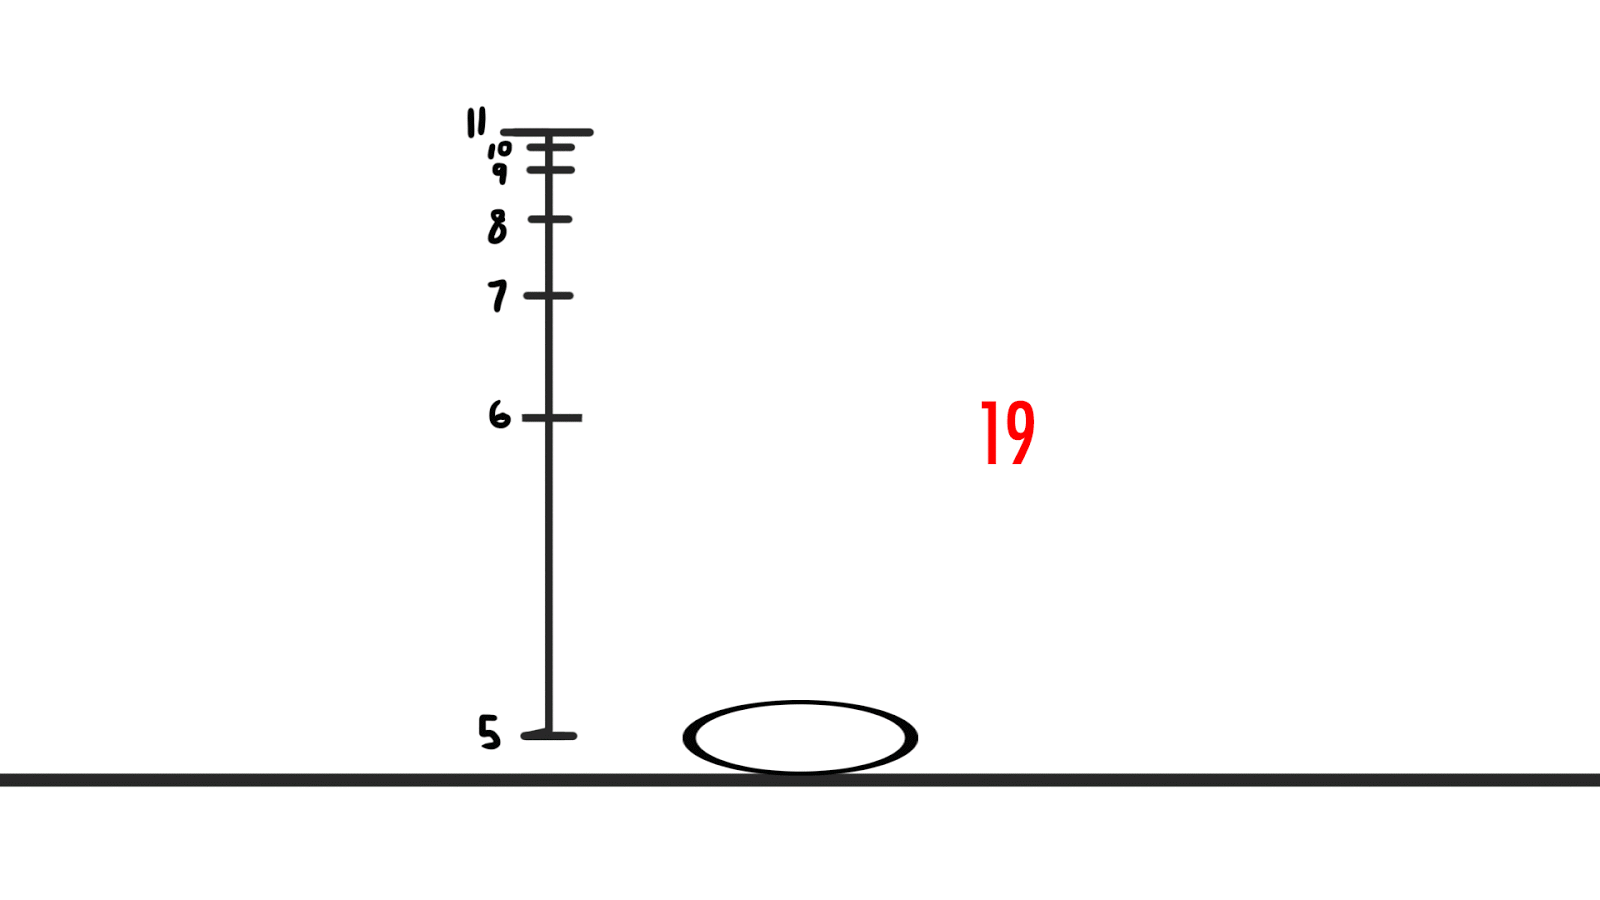
Now it’s time to animate the ball falling. BUT SURPRISE; the falling motion is more or less the same as bouncing up, right down to the timing chart. The ball initially drops slowly, then gains momentum and speed due to gravity. You can simply copy and paste the content of the frames you already have, albeit in reverse order: copy-paste frame 11 to frame 13, frame 10 to frame 14, 9 to 15, etc…
I stopped at frame 19, which should be the moment your ball touches back down on solid ground (and which mirrors frame 5)
That being said, animation is not formulaic. You should hit play and adjust the frames for the falling action as you see fit. With adjustments and checking, your animation should look a little like so:

So right now our frames are:
1=Neutral position
2-5=Squishing down in anticipation
6-11=Bouncing up (6 frames)
12=Maximum height
13-18=Falling down (6 frames)
19=Contact with the ground
You may be asking, why didn’t we keep copy-pasting the remaining few frames? Why did we stop at 19 instead of mirroring frames 4,3,2,1 so the ball returns to its neutral position after pancaking against the ground?
Well if you look at the gif above, even if we did add the last few frames, it would feel weird for the ball to basically stick to the ground upon first contact. It’s almost like the ball just landed on a glue trap. A more realistic scenario is to have the ball bounce several times with decreasing amplitude before settling down and remaining at rest. If you drop a soccer ball, it might bounce 3-4 times before rolling away, if you drop a ping pong ball, it’ll bounce many many times and be generally very annoying.

But, like a man who just spilled a box of ping pong balls, you’ll probably very sick of picking up and dealing with moving balls. Let’s make your life easier and have you just make the ball land a liiiitle bit more realistically instead of animating several rounds of bounces. Here’s a rough breakdown of how I approached frames 19-24, but you can definitely experiment with different solutions.
Frames 19-20-21:
The ball is in it’s most flattened state at 19, begins to spring back into shape in 20, but overshoots the neutral position and is overstretched at 21. The leftover energy in the ball from the initial fall causes it to spring slightly off the ground at 21
Frames 22-23-24:

The ball falls back to the ground at 22, flattening a little in the process. It still springs back up and overshoots the neutral position in 23, but only overstretches and doesn’t lift off the ground this time. By 24, the ball has finally settled into its neutral resting position.
And here are the frames altogether:

Once again, a realistic scenario would be to have the ball bounce up and down several times (and you’re welcome to try it if you have time/want to practice animation!), but these cheap and dirty last couple of frames are enough to give the landing a bit more appeal (compare the landing of the old version on the left to the new version on the right)


Remember that to create a smooth looping animation, your last frame should be the same as you first frame! Frame #24 should be a duplicate of frame #1, and I recommend extending frame #24 to last 3-5 frames (similar to how you extend or shorten images in Premiere Pro) so there’s a slight rest between animation loops. I also decided to extend frame #5 and frame #12 to last 2 frames each, exaggerating the anticipation and extending the ball’s air time respectively.

EXPORTING AS A .GIF
Finally, after all your hard work, you can export your file into a .gif and show your friends and family everywhere! To do so, you will want to go to File > Save for Web. Make sure to make the Looping Options "Forever," and not just "Once," (otherwise it will only play once whenever you open it, and we don't like GIFs that do that, do we?)
If Photoshop crashes for some reason when trying to export this, you may want to lower the image size.
Name your exported file as [NAME]_BOUNCINGBALL, and hit Save! Hitting “Done” will only save your setting and not the file!

...And now you're done! Congratulations, ya animator! Check to make sure your gif exported properly (you can drag your .gif file into a web browser to watch it play) and then email it adfa@ucbugg.com as either an attachment or in the body of the email. Make the title of your email "[NAME]_BouncingBallLab". Remember to contact us if you have any questions on any of these steps!
