Animatics - Tips and Tricks for Premiere
Now that you’re going to make a full-length animatic, we’ve compiled some tricks and tips to help you manage a more complicated video with a higher number of clips. Since you’ve already tried your hand at making a mini-animatic in the Intro to Premiere Lab, this lab assumes that you know the basics of working with Premiere. Therefore, if you had any issues with your previous lab, please make sure that you’ve resolved them, and that you know what went wrong!
Linked Media & Offline Media

One thing to note is that when you import image or audio clips into your project, the clips don’t actually exist inside Premiere—Premiere has just created a link to where the files are on your computer. What this means is that if you move or delete your files, Premiere will not be able to find them, and they will be labeled “Offline Media.” If that happens, you can follow these instructions to relink your files.
Editing Single Clips
Adding a clip - By default, dragging a clip to a sequence or rearranging clips in a sequence replaces any frames already in a sequence. You can instead insert a clip by shifting clips later in time to accommodate the new clip by dragging a clip while pressing the Ctrl (Windows) or Command (Mac OS) key
Replacing a clip (while keeping effects) - You can replace a clip in a Timeline panel with another, retaining any effects that were applied to the original clip in a Timeline, by dragging while holding Alt or Option.
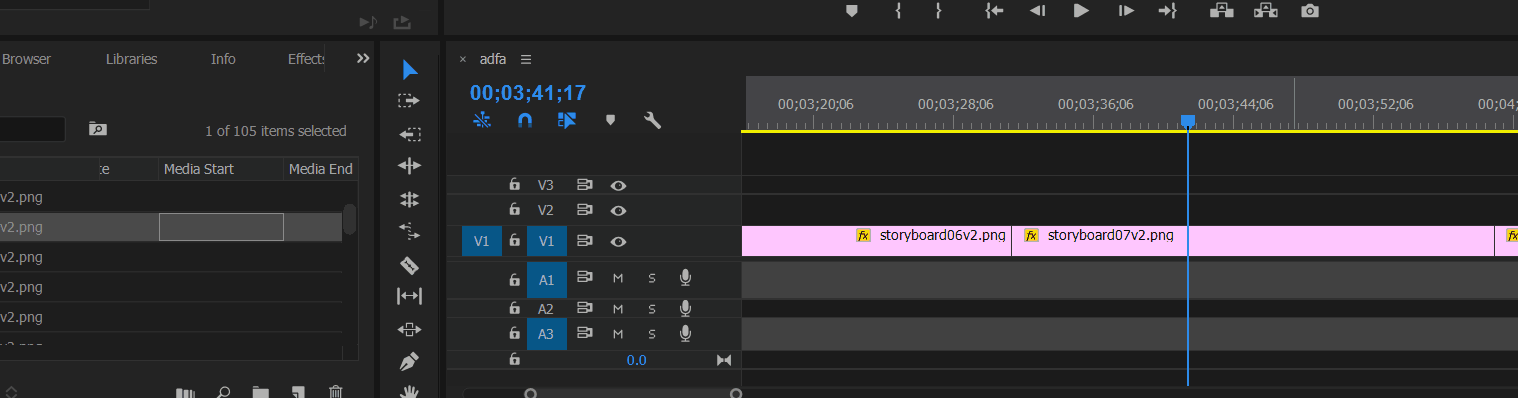
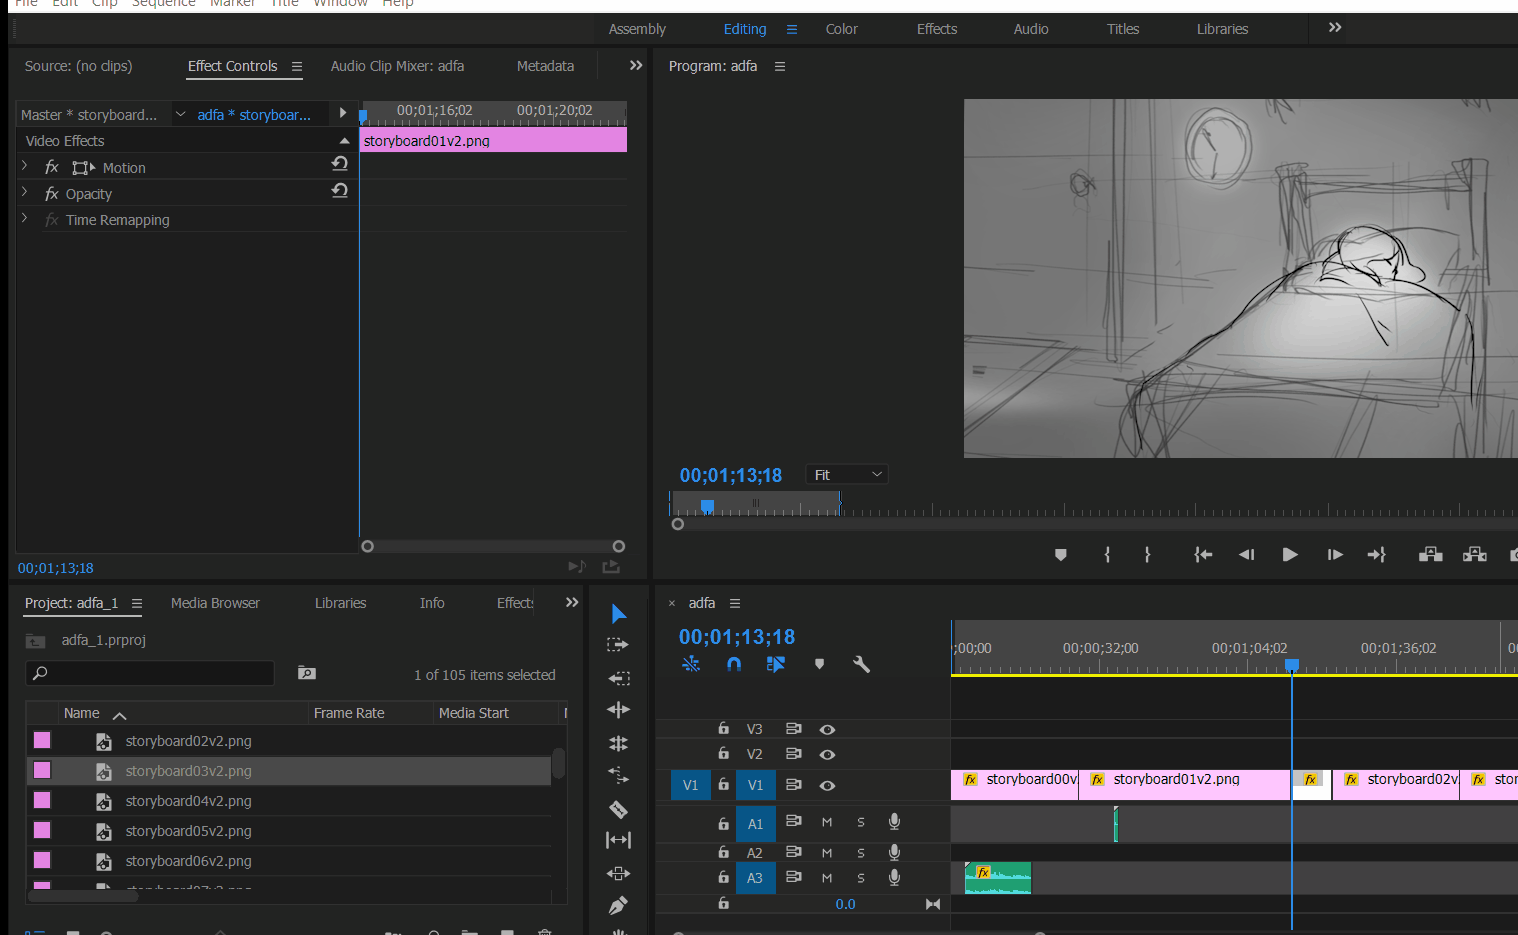
Note: Copy-pasting (Ctrl+c, Ctrl+v) a clip will insert the copied clip where your Playhead is (line used to scrub image)
Editing Multiple Clips
Edit Speed/Duration for multiple clips - Select one or more clips and choose Clip > Speed/Duration or right-click over a selected clip and choose Speed/Duration.
-
Check the Ripple Edit box to prevent gaps or overlapping from occurring
Ripple Edit - Select this tool to trim a clip in a Timeline. The Ripple Edit Tool closes gaps caused by the edit and preserves all edits to the left or right of the trimmed clip.

Rolling Edit Tool - This tool trims the relevant end of both clips while leaving the combined duration of the two clips unchanged.
Deleting a clip (without leaving gap) - You can replace a clip in a Timeline panel with another, retaining any effects that were applied to the original clip in a Timeline, by dragging while holding Alt or Option.
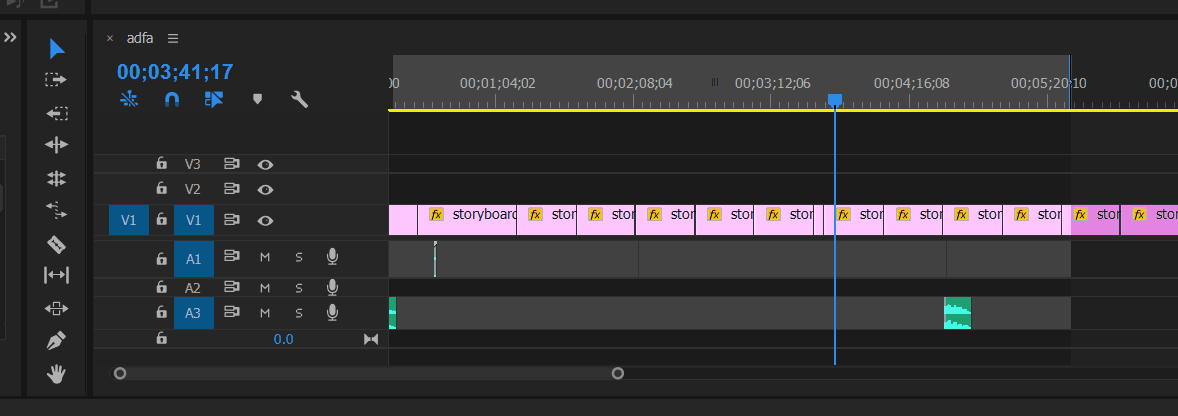
Note: You can zoom in or out of your Timeline window by clicking the circles on the ends of the scroll bar. (Or Alt + scroll up/down with middle button)
Advanced Topics
If you want to learn about more advanced topics, like nesting sequences, adding effects or transitions, etc., we suggest that you check out the official Adobe Premiere guide! You can also ask a facilitator how to create a specific effect like parallaxing during office hours!